This page provides guidance on creating Canvas pages in ways that align with the requirements of Title II of the Americans with Disabilities Act.
Building course content directly in Canvas will put you on the quickest path toward accessibility. Unlike Word or PDF documents, Canvas uses HTML, which makes text more adaptable for different screen sizes and works well with screen readers. The information below focuses on how to make content in a Canvas page more accessible. New to Canvas? Learn how to create pages in Canvas.
Canvas Pages
- Select the “Edit” button near the top of the Canvas page you would like to make more accessible.
- Highlight the text that you want to become the heading.
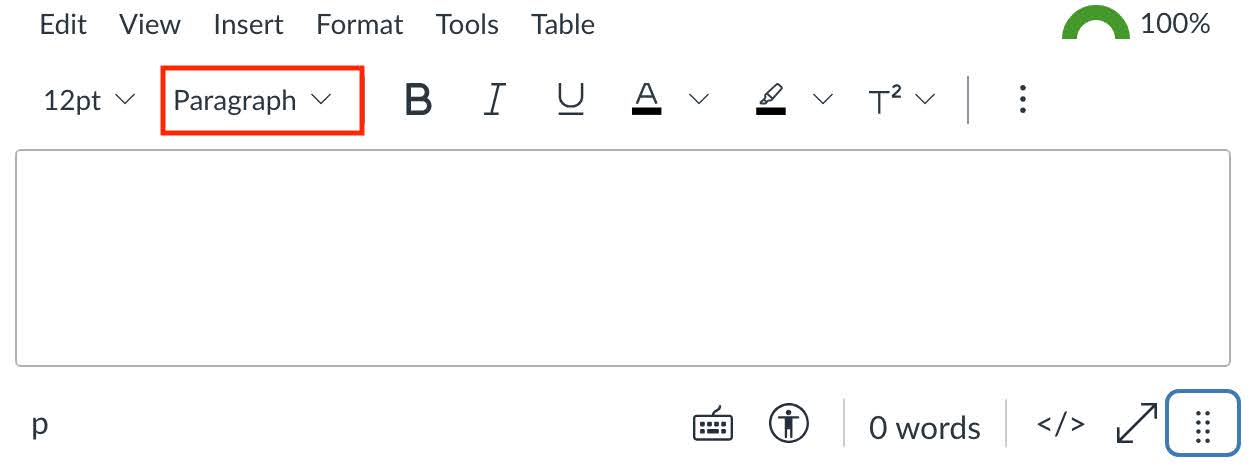
- Select the text box that says “Paragraph” (second from the left) in the editing menu. Headings should form an outline of your content, so choose the heading that corresponds to the structure of the information you will have on the page. Headings for major sections of the page should use Heading 2 (Canvas automatically makes the page title a Heading 1).Sub-headings under main headings should use Heading 3. Subsequent subheadings should use Heading 4. Headings should always proceed chronologically and not skip leve
- Save.
- If you’re not already in edit mode, select the “Edit” button near the top of the page.
- Copy the URL you would like to include in your page.
- If the link will take students outside your course Canvas site:
- Type a short descriptive phrase for the link in the spot you want the link to appear on the page (e.g., NOAA’s Heat and Health Tracker).
- Highlight this phrase and select the link icon in the editing menu. If you don’t see the link icon, select the three vertical dots in the edit menu and look for the link icon there.
- Select “External link,” paste the URL into the “Link” box, and select “Done.”
- If the link will take students to another page within your course’s Canvas site:
- Click the spot in your page where you’d like the link to appear.
- Select the link icon in the editing menu. If you don’t see the link icon, select the three vertical dots in the edit menu and look for the link icon there.
- Select “Course link.” From the side menu that appears, select the page, assignment, etc. in your Canvas site you would like to link to. Canvas will automatically create the link to that location in your page.
- Be sure to scroll to the bottom of the page and select “Save.”
- Avoid using the full URL in your Canvas page since screen readers will read out each character in the URL.
- If you’re not already in edit mode, select the “Edit” button near the top of the page.
- Highlight the text that you want to format as a list.
- Select the list icon in the editing menu (appears as three vertical dots next to three horizontal lines) and choose the type of bullets/numbers. If the list describes the order of an action or ranking, choose a numbered list; use a bulleted list for all other lists.
- If you’re not already in edit mode, select the “Edit” button near the top of the page.
- Select the image on your Canvas page that needs alt text.
- Select the “Image Options” pop-up. This will open a sidebar.
- Determine whether the image you have placed in your Canvas page is purely decorative or conveys information necessary to understanding a concept.
- If the image is necessary for understanding, type a brief statement (max 150 characters) in the “Alt Text” box in the Image Options sidebar that concisely conveys the meaning of the image and its relevance to the content of the page. When creating alt text, avoid jargon, unnecessary details, file names or URLs, and phrases like “image of” or “picture of.” (Explore examples of helpful alt text.) Note: You may need to delete any automatic alt text that appears in the “Alt Text” box.
- If the image is purely decorative and doesn’t convey essential information, check the “Decorative Image” checkbox. Note: Marking necessary images as decorative to avoid having to create alt text is a discriminatory practice.
- Select “Done” at the bottom of the sidebar
- Save.
- Optional: In addition to creating alt text, adding concise descriptive text on the page near the image can be helpful to those with cognitive disabilities and low vision.
- Identify whether your table conveys numerical data. If it does not, do not use a table; use paragraphs with headings or bulleted lists.
- If you’re not already in edit mode, select the “Edit” button near the top of the page.
- Add a caption
- Select the table.
- From the edit menu, select Table > Table Properties.
- Check the “Show caption” box, then select “Save.”
- A caption field will appear above the table; enter a short description.
- Save.
- Label the header row
- Select the table.
- From the edit menu, select Table > Row > Row Properties.
- In the Row Properties dialog box, select “Header” as the Row type.
- Save. NOTE: These changes will not produce any visible change, but will insert HTML code behind the scenes that identifies the row as a header row for those using assistive technology.
- Label the header cells
- Select a column header or row header.
- From the edit menu, select Table > Cell > Cell Properties.
- In the Cell Properties dialog box, select “Header” as the Cell type.
- In the same dialog box, select “Column” as the Scope.
- Save.
- If you’re not already in edit mode, select the “Edit” button near the top of the page.
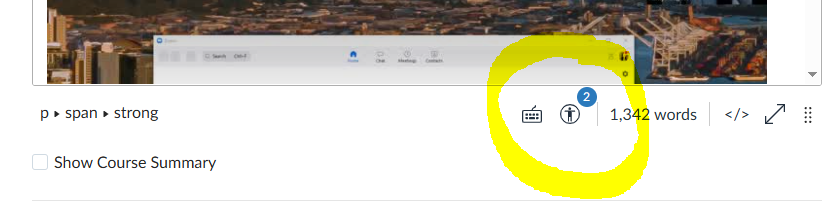
- Select the checker icon at the bottom of the editing space.
- Address the accessibility errors identified by the Canvas accessibility checker.
Need additional guidance or help troubleshooting? Contact help@uw.edu.